

A_J_T
-
Posts
1,656 -
Joined
-
Last visited
-
Days Won
69
Content Type
Profiles
Forums
Events
Store
Everything posted by A_J_T
-
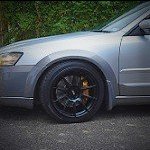
I find it hard to believe this would happen..but, considering the possibility its probably a smart move to simply cut around the surface/bottom of the nut holes and peel the dip out or mask the holes before dipping I'm pretty happy with the looks/durability etc. its nice stuff to work with for sure.
-
I had a tire replaced and rebalanced leaving a bit of a mess. Figured Id just touch it up rather than redoing it. First things first, I cleaned the wheel and masked the wheel nuts. Then grabbed a nice sharp packaging knife, cut around the corner of the rim lip and peeled the frayed edges. I also made a clean cut on the pealing Plasti Dip that was left from the weight being removed. just remember not to be too heavy on the blade as you don't want to scratch the rim. This time I decided to dip without index cards and see how easy it is to peel of the Tyre once I was done. Turns out its pretty easy and does peel off fine but Id still use index cards for dipping a set of rims because it does leave a bit of a shaggy mess for a couple days if you cant be bothered pealing all the little bits of left over dip off. It took 3-4 coats before the cut edges blended in, around the lip you cant tell its been patched at all and where the wheel weight was its barely noticeable. All in all I'm pretty happy as it only took 20 minutes and it looks like new again.
-
Haha good to know, I drove past last night and could see they were having a good yarn with you. Later on I could hear you running a couple pulls along the straits “3rd gear?” sounded smooth.
-
I'll definitely keep Trailequip in mind as im up that way alot. yea pretty positive its not a moister thing, the bulb actually does light up when i first turn it on after being off for sometime then a couple minutes later it starts turning a red/purple colour then dies.
-
Ok so what is the general consensus on the average HID life expectancy? About two years ago my Front-Left HID blew and I replaced it with one from Repco, didn’t really think much of it at the time as it’s the first replacement HID I’ve done on this car. Now approximately two years down the track it blew again. The Front-Right has been going strong ever since the car hit the shore in NZ about 4 years ago, I was expecting the new Repco bulb to at minimum outlast the other. I believe the headlight to be water tight and there are no signs of moister. Also I like to think that bad wiring or shorts are out of the question but would appreciate any advice on some ways to confirm this. Also while I’m on the HID rant, has anyone tried the HID bulbs from Trademe. For example X2 6000k HID’s for $40? Sounds good to me as a Repco one puts me back $150. Just unsure of the overall quality and what might be getting sacrificed when going with an unknown branded HID bulb. Note: its low beam that failed both times, high beam is fine. Chur.
-
+1 No idea.
-
For future reference.
-
I am new to using Plasti Dip and have not yet cleaned my rims, with the black I plan on washing them with a soft sponge and some warm soapy water. However, with white I would almost guaranty that the dip will absorb some dirt and dust over time "Other more experienced Members might be able to confirm this?". I think applying some sort of clear coat would be an Idea, this would create a hard gloss finish over the matt Plasti Dip “make sure you do your research on what clear coats are safe to use with Plasti Dip”. I know there is a Plasti Dip Glossifier which I believe to be a clear coat of sorts.
-
Thanks mate, and yea i agree some lowering is needed. any recommendations on lowering springs, places to get it done?
-
So Ive wanted to Plasti Dip my rims for some time now and have always wanted to know how good this stuff really is. So this weekend I committed and went out and got myself some supplies. First off there are plenty of good how to guides on using Plasti Dip and there really is no need for me to go into detail on How to dip your rims but never the less this is how I did it. Since I live in a city and have pretty much nothing to start with the first thing I did was gather the below inventory. 3x Cans Plasti Dip - ($25 a can at Repco atm) $75 1x Brake Clean Repco $7.50 1x Isopropyl alcohol Mitre10 $13ish 1x XXXL T-Shirt from the Warehouse I needed a rag $6 1x Pack of cards.. I got some jumbo cards from my local 2$ shop, worked out really good. So first things first if your rims are covered in City filth, brake dust and dog excrement youll want to give them a hose off. Once they are semi respectable grab your car jack and whip off a wheel. Note: There are plenty of people that will recommend just plasti dipping your rims while on your car and thats cool to. However, its not hard to remove a wheel and it really is worth it simply because you wont need to worry about cleaning off overspray and also having the wheel removed gives you much better angles to paint at. Alright once I had my wheel removed I popped off the axle cover cap and gave the entire rim a good wipe down with brake clean to ensure all tar and other residue was removed. After that I wiped the rim down with Isopropyl alcohol.Isopropyl alcohol is great for cleaning surfaces that you want to apply vinyl, decals, plasti dip etc. I then applied my jumbo cards around the bead of the wheel. This is another step that is not totally necessary as you can simply have at it with plasti dip and then peel the dip off your wheel when done, but really its nether expensive nor hard to poke a couple cards in here and there to create a clean and tidy finish. Now youre good to go, apply a thin coat first and let it dry for a minute and then proceed with thicker coats, as many as you feel needed. I personally think about 5-6 coats is good. This worked out to be about one can to two wheels, maybe a smidge more. Before After I had some Plasti Dip left over and decided to attack my emblems. I forgot to take pictures of the stages taken for the emblems but all I did was mask of a square around the emblem and gave it 5-6 coats then removed the masking and peeled off the remaining dip. I was pleasantly surprized at how easy this was.
-
Rev A/B/C have primary VF25 and secondary VF27 turbo's i believe so follow Rosssub's guide and you'll be right. 1 x 1.3/4 To 1.1/2 45° reducer elbow 1 x 1.3/4 To 1.1/2 90° reducer elbow
-
I stand corrected!
-
I could be wrong but i believe the standard Legacy Twin-Turbo TMIC to be just as good as the V7 if not better. Take a look at this write up and see what you think, its pretty interesting. Part 1 http://www.autospeed.com/cms/article.html?&A=1618 Part 2 http://www.autospeed.com/cms/article.html?&A=1619
-
+1 I also got mine from Alltech last month. Just go to their shop and ask for the sizes you would like and they should be able to help. Or http://www.trademe.co.nz/motors/car-parts-accessories/performance/turbos/auction-728801071.htm ^ That is a black one but they do have blue. Their website is www.turbo.co.nz
-
I notice the ZeroSports pipe increases in size just after the first bend, do you think this varying in diameter is required? I know that if you mess with the intake diameter before the MAF it really upsets things but does after the MAF have the same issues? Just a thought as I’m also looking at getting something made up for mine.
-
Haha good stuff ;D
-
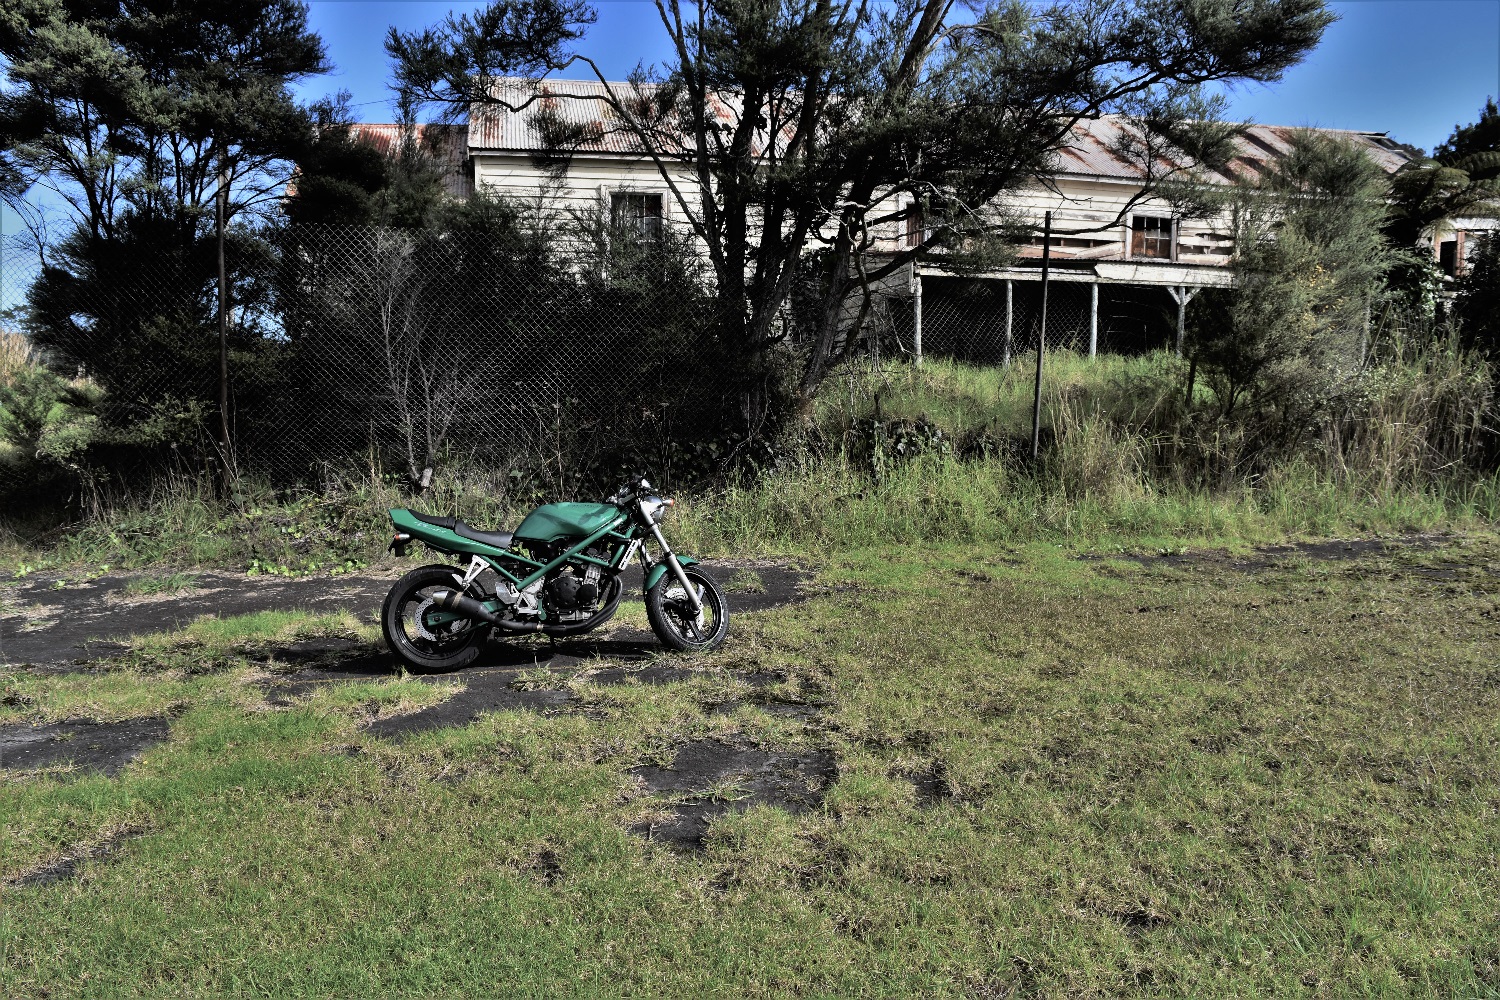
New Picture It should be pretty easy considering the clues in the background
-
That last one i just got was at Approximately: 29 Lake Road, Narrowneck, Auckland
-
Got it, Lucky i didn\'t get run down while trying to take the photo. New one will be up tomorrow
-
Good stuff, its a race now..
-
I have no idea. anyone? :-\
-
Done, Just went out and took it off
-
Last week I decided this would be a good thing to do. So I went about gathering the various parts. 1 x 45mm" to 38mm" 45' reducer elbow 1 x 45mm" to 38mm" 90' reducer elbow 1 x 70mm flexi joiner “Which was not so flexi” Ok so my first mistake was getting the wrong size 45 reducer because on the Rev-D the secondary turbo outlet is bigger. Now looking back I knew this already but I was just following instructions here haha, anyway as I said I got the 45mm To 38mm which is too small, If you have a Rev-D I would recommend getting a 54mm” To 45mm” 45’ reducer, That might be a little too big but I will be getting one and trying it myself in the future. That being said, it is possible to just use the 45mm To 38mm because that is what I did, it is just a true pain to get on when throwing the intercooler back on because they were a very tight fit. This is the “not so flexi” flexi joiner. Before: After: With the 45 reducer you can see I flipped it around and used the small end for the intercooler and the larger for the turbo outet. This ended up working ok but as I mentioned earlier it was extremly fidgety to get on because of how tight it was. As you can see the joiner did not flex evenly and ended up looking horrible, it’s all lopsided and I’m not that happy with it. Thats it, all done. i don't think there is a noticeable difference when just driving around the streets, however i did notice it holds boost into higher rpm better.
-
Chur, well done.
-
Me too, someone go get it Mini meet, group photo?

-
Who's Online 1 Member, 0 Anonymous, 87 Guests (See full list)